Overview
Camera Animator is designed to animate a camera through a series of locked-off shots, at user defined times, for such things as titles, credits, walk-throughs, or any other situation where you would want to move methodically through a series of points-of-interest.
Click the image below to view a QuickTime movie of the script in action.
Benefits
Camera Animator allows you to concentrate on framing "template" shots without worrying about animation timings, then quickly and easily create a base animation from those shots by clicking a single button.
You can continually re-frame the original shots, as well as adjust the timing and weighting of the movement in a variety of ways, and it's just a few clicks to add cameras, reorder cameras, change timings of holds or moves on a per-camera basis, and have the entire animation update.
The final key-framed animation can be used a starting point for further development, or can just be used as-is.
Interface and basic usage

Using the script is quite straightforward:
- Set up your scene by framing your required shots using target cameras
- Click the Grab Cameras from Scene button to add the cameras
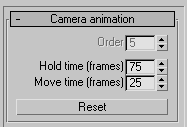
- Adjust individual camera settings, such as Hold Time and Move time
- Click the Animate Camera button to create the animation
- Repeat the process from step 3 as necessary
A new Animated Camera will be created that animates through the Template Camera positions using the default values of 75 frames per hold, and 25 frames per move.
You can continually re-adjust settings, and click Animate Camera again to update the animation.
Options
There are various ways to customize the animation that the script creates:
Change Template Camera order by selecting camera(s) in the list and clicking the Up and Down buttons.
Change Hold and Move timings by either selecting the camera(s) in the list and adjusting the timings spinners, or by selecting the camera by double-clicking the item in the list, and editing the camera's Camera Animation parameters in the Modify Panel.

Toggle the Synchronize List checkbutton to automatically synchronize the Template Cameras list selection as you drag the Time Slider. This is useful for quickly adjusting timings as you scrub through the animation.
You can also change the controller types used, depending on the level of control / ease of use required. Choose from between Position XYZ, or Bezier Position.
Choose any of the default tangent types, such as Slow, Auto, Linear to adjust the easing of the movement.
Assign a Secondary Animation track to the Animated Camera, complete with placeholder keyframes for later adjustment, to add subtle movement on top of the main animation.
Animation
The script automatically creates 2 sets of controllers and keyframes:
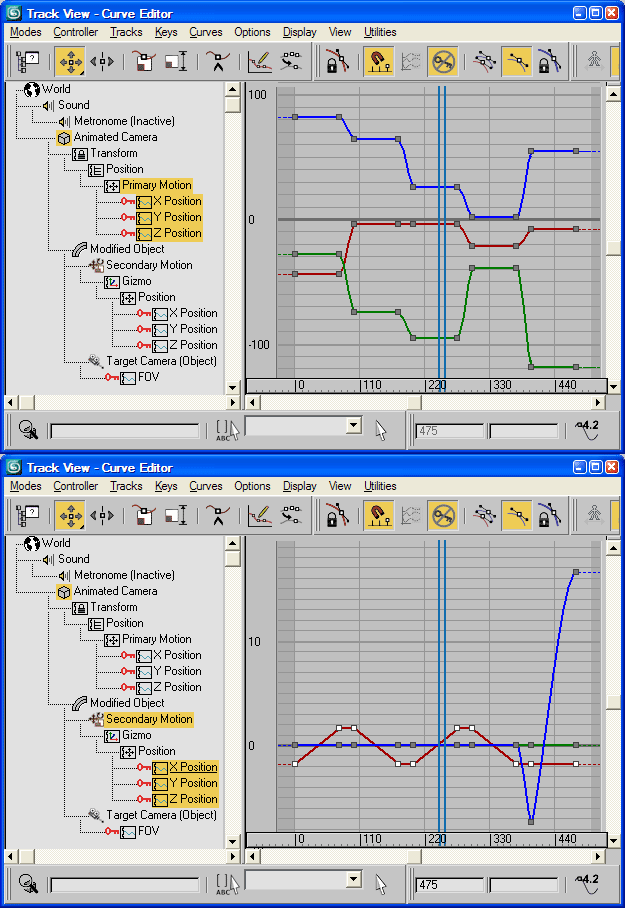
- Primary Motion: a primary set of keyframes for Camera, Target and FOV, animating a path through the Template Cameras
- Secondary Motion: a secondary set of placeholder keyframes (on either Camera's position controller, or an XForm modifier) to allow the animator to add further subtle movement.
You can clearly see both animation curves in the Trackview below.
In this case, the Secondary Motion keys have been adjusted to give the holding phases a little life, by gently tracking left and right in the horizontal axis.

Case Study
You can see Camera Animator in action on a real job in the screen grab for my Viewport Layout Manager.
Download and Installation
Download Camera Animator.ms then drag it onto your 3dsmax viewports to create the Camera Animator dialog.
